
- Tools for Assembly: Essential tools include a Phillips #2 screwdriver, small pliers or tweezers, flashlight, anti-static wrist strap, cable ties, and a soft cloth.
- Workspace Preparation: Use a clean, flat surface in a well-lit room with hard flooring. Organize tools and parts; avoid static and food/drinks.
- Anti-Static Precautions: Essential to prevent damaging components; wear anti-static wrist strap and avoid building on carpet.
- Compatibility and Selection: Ensure CPU socket matches motherboard, RAM type is compatible, GPU fits, and PSU wattage is adequate.
- Motherboard Factors: Consider form factor, chipset, future-proofing, connectivity, firmware, and brand quality.
- Parts Picker Tools: Use for selecting compatible parts, checking wattage, and ensuring fit before purchasing.
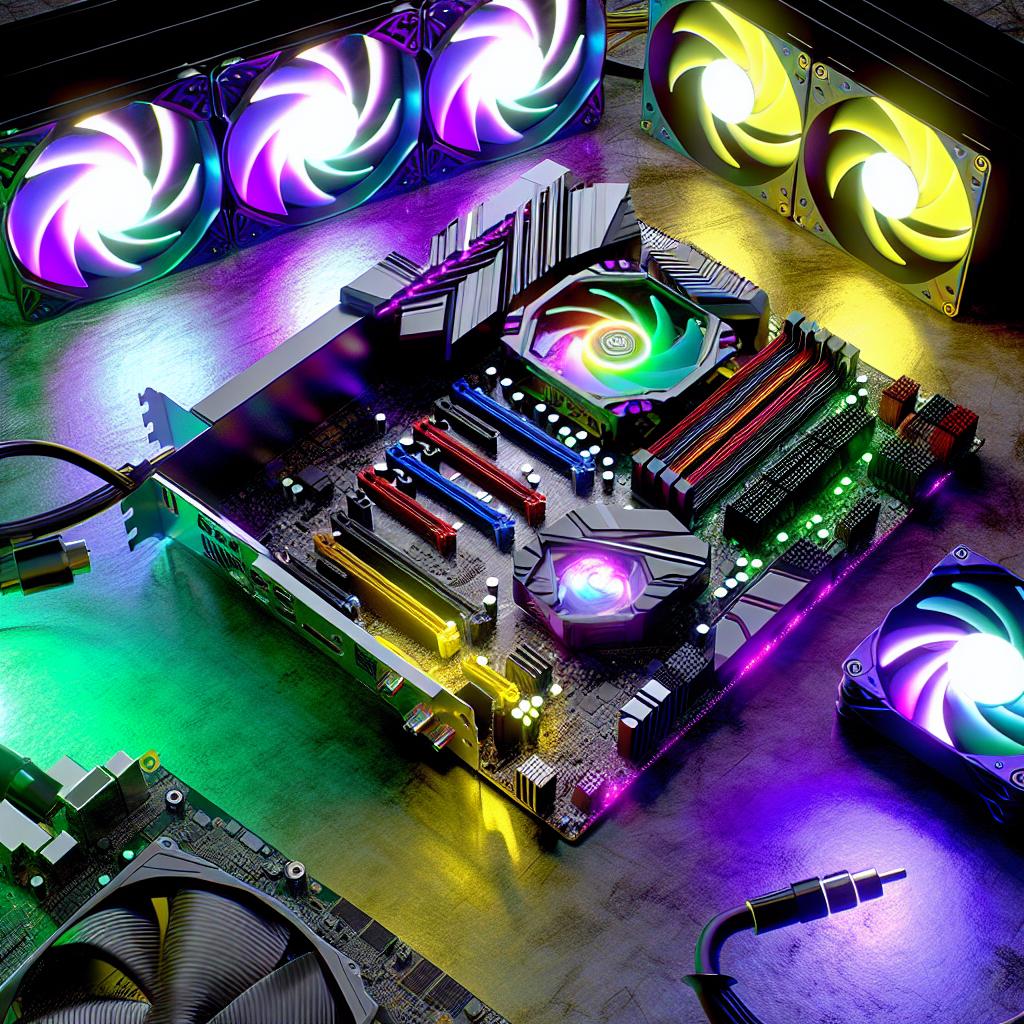
- Assembly Steps: Start with a clear workspace; install CPU, RAM, and cooler on the motherboard before inserting into the case.
- Performance Optimization: Benchmark with 3DMark or Superposition, ensure efficient cooling, and adjust game settings for FPS and temperature management.
- Future Upgrades: Plan for expansions like extra RAM or GPUs; maintain your PC with regular cleaning and software updates.
Building a gaming PC is like assembling your own powerhouse for an epic adventure! If you're diving into the world of custom builds, you're in the right place. With guidance from the experts at e1search, you can transform your gaming with a beastly PC. Whether you're a mobile gamer curious about the desktop realm or ready to conquer new gaming challenges, your ultimate guide awaits!
What Are the Essential Tools and Preparations for Building a Gaming PC?
What tools are required for PC assembly?
Building a gaming PC is like solving a big puzzle. You need the right tools to fit the pieces together. Let's start with the first question: What tools do you need? Precision is key! A Phillips #2 screwdriver is the most important tool. This trusty tool handles almost every screw in your PC build. Next, you might need a pair of small pliers or tweezers. These help you with little parts, like securing cable ties. A small flashlight or headlamp is useful so you can see in those dark, tricky areas. An anti-static wrist strap is vital, too. Wear it to stop static electricity from harming your components. This strap connects you to a grounded metal surface. You should also have some cable ties handy. Cable ties keep your wires neat and organized. Finally, keep a soft, lint-free cloth around. It's useful for wiping dust or fingerprints off parts. This toolkit might not seem like much, but each item is vital for a smooth build.
How do you prepare a workspace for building a gaming PC?
The next big step is preparing your workspace. A well-prepared space makes PC building easier and more enjoyable. So, where should you build your PC? Remember, precision in setup is powerful. First, find a flat and clean surface like a large desk or table. A dining table could work nicely if you clean it first. Ensure your room has enough light. A bright workspace makes it easier to spot those tiny screws and cables. You also need to deal with static electricity. Choose a room with a hard floor. Carpets can build static, which is not safe for your PC parts. Assembling near a metal surface, like a metal table leg, can help ground static. Another tip is to dress right. Wear short sleeves and avoid wool or synthetic materials. Before you start, lay out all your tools and parts. It helps to have them where you can see and reach everything easily. Organize them based on when you plan to use them. Be sure the area is free of food and drinks. You don't want spills damaging your precious components. Taking time to prepare will save you from headaches later.
Why are anti-static precautions important?
Now, let's discuss why anti-static measures are crucial. Every time you move, your body builds static electricity. It's that tiny zap you feel when you touch a doorknob. But for PC parts, that zap can be deadly. The danger of static electricity is destruction. Even a small static shock can damage sensitive electronics. So, why are anti-static precautions important? They protect the investment you've made in your PC parts. Damage to components means they might not work properly or might fail altogether. You'll need extra money to replace them. When building, always wear an anti-static wrist strap tethered to a grounded object. Avoid building on a carpet and work in a room with laminate or tile flooring. Touching a large metal surface before handling any parts helps to discharge static from your body.
Static protection isn't just about safe handling; it's also about peace of mind. With these precautions, you can focus on building your powerhouse without worrying about unseen risks. Your future gaming experience is worth the steps to keep it safe.
Safety first! That's a mantra all builders should follow. And it's simple: Take a moment now to prevent problems later.
How Do You Choose the Right Components for Your Gaming PC?
How do you determine compatibility among PC parts?
Compatibility is key when building a gaming PC. To check if parts will work together, you first need to understand what each component does and how they fit into the whole system. For example, the motherboard connects key components like the CPU and RAM. Every motherboard has a specific type of CPU socket. Before buying a CPU, verify that it fits the socket on your motherboard. This involves checking the CPU brand and model against the motherboard specifications.
Next, look at the memory slots on the motherboard. They have to match the type of RAM you choose. DDR4 is common in new builds, but older boards may only support DDR3. Always check this detail when selecting RAM. Moreover, consider the form factor of the motherboard. The size must fit your case, so choose between ATX, microATX, or Mini-ITX sizes.
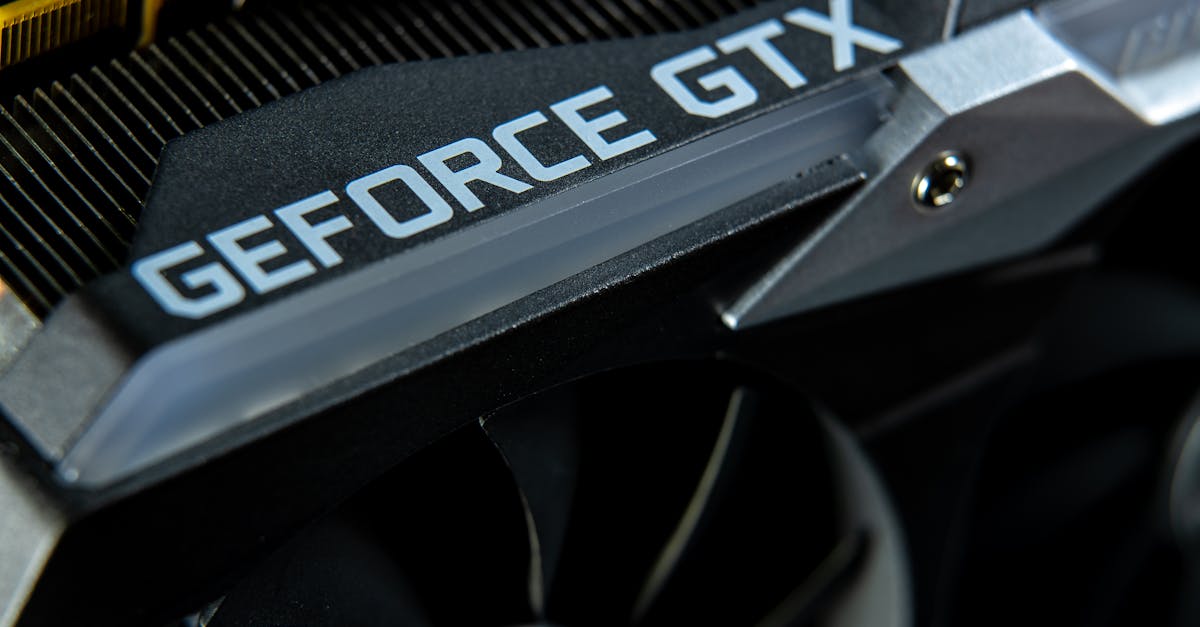
Verify the graphics card compatibility next. Ensure your GPU will fit in your case with enough room for proper airflow. The motherboard also needs the correct PCIe slot to connect with the GPU. For more accuracy on compatibility, the Intel Compatible Processors page provides an excellent tool.
Storage compatibility also matters. Decide between SSD and HDD based on speed and size needs. Check if your motherboard supports SATA or faster NVMe SSDs. Finally, ensure that your chosen PSU (Power Supply Unit) provides adequate wattage for all components. Add up wattage needs from each part to decide the PSU rating. This ensures each component gets enough power to function properly.
What factors should be considered when choosing a motherboard?
The motherboard is the heart of your gaming PC. It connects and interfaces with nearly every component. Here’s a quick rundown of what to consider:
-
Form Factor: First, decide on the size. ATX is the most common and offers the most expansion slots. MicroATX is smaller with fewer slots. Mini-ITX is the smallest, perfect for compact builds but with limited expandability.
-
Chipset: The chipset determines features and compatibility with CPUs. Choose a chipset that supports your CPU of choice and has the features you need, like overclocking or multiple GPU support.
-
Future Proofing: Think ahead. Will you want to upgrade components later? Ensure the motherboard supports newer technology or has room for expansion, such as extra RAM slots or additional PCIe slots.
-
Ports and Connectivity: Evaluate what peripherals you’ll need. Look for motherboards with sufficient USB ports, audio ports, and any other connections like HDMI if needed. Also, check for M.2 slots for faster SSDs.
-
BIOS and UEFI: The motherboard firmware, whether BIOS or the newer UEFI, lets you manage hardware settings. UEFI usually offers a more user-friendly interface and advanced features over traditional BIOS setups.
-
Brand and Support: Choose reputable manufacturers with good reviews for better support and reliability. Intended post-purchase support can make a big difference if you run into issues.
For more detailed guidance, click through to this helpful motherboard overview. Here, you’ll find in-depth specifications and helpful user guides.
How can a PC parts picker be used effectively?
Using a PC parts picker tool simplifies the process of building a compatible gaming PC. These tools allow you to select parts and verify their compatibility in real-time.
Step-by-step Guide on Using PC Parts Picker:
-
Initial Selection: Start with your primary need, the CPU or GPU. These are your anchors based on gaming needs. Enter your choice into the parts picker.
-
Check Compatibility: Choose a motherboard next. The parts picker helps filter the choices to only those compatible with your CPU. It will warn you of any mismatches.
-
Memory Match: Choose RAM by checking the motherboard’s supported type and speed. The picker suggests RAM that matches your chosen motherboard.
-
Storage Options: Decide on SSD or HDD. The parts picker will show if your motherboard supports your choice, including newer NVMe SSDs.
-
Power Supply Needs: Add the PSU to your list. Accurate wattage recommendations will update as you pick components, ensuring enough power availability.
-
Cooling and Case Check: Choose a cooling solution next. Confirm it will fit your case and motherboard setup. Then, select a case that fits everything with adequate cooling.
- Final Check and Modify: With all parts selected, the picker provides a final compatibility check. Address any highlighted issues before buying.
Using a parts picker minimizes compatibility errors and builds a clear budget outline. Many tools also include estimated total power use, which helps in choosing the correct PSU. This tool makes it easy for even beginners to build a coherent gaming PC with fewer mistakes.
What Steps Are Involved in Assembling a Gaming PC?

Building a gaming PC is an exciting yet daunting task. But breaking it into steps makes it more manageable. Let's take it step-by-step together, so it won't seem as tricky.
What are the initial steps in assembling a gaming PC?
Start with a clear workspace. This means a large table, bright lights, and low-static surroundings. You will need tools like a Phillips #2 screwdriver and maybe some zip ties. Next, gather all parts like the case, CPU, GPU, motherboard, RAM, storage drives, PSU, and cooler.
Before you jump into assembling, peel away any plastic covers from inside the PC case. Remove the side panels of the case by unscrewing or sliding them off. Find out where the motherboard will sit inside the case.
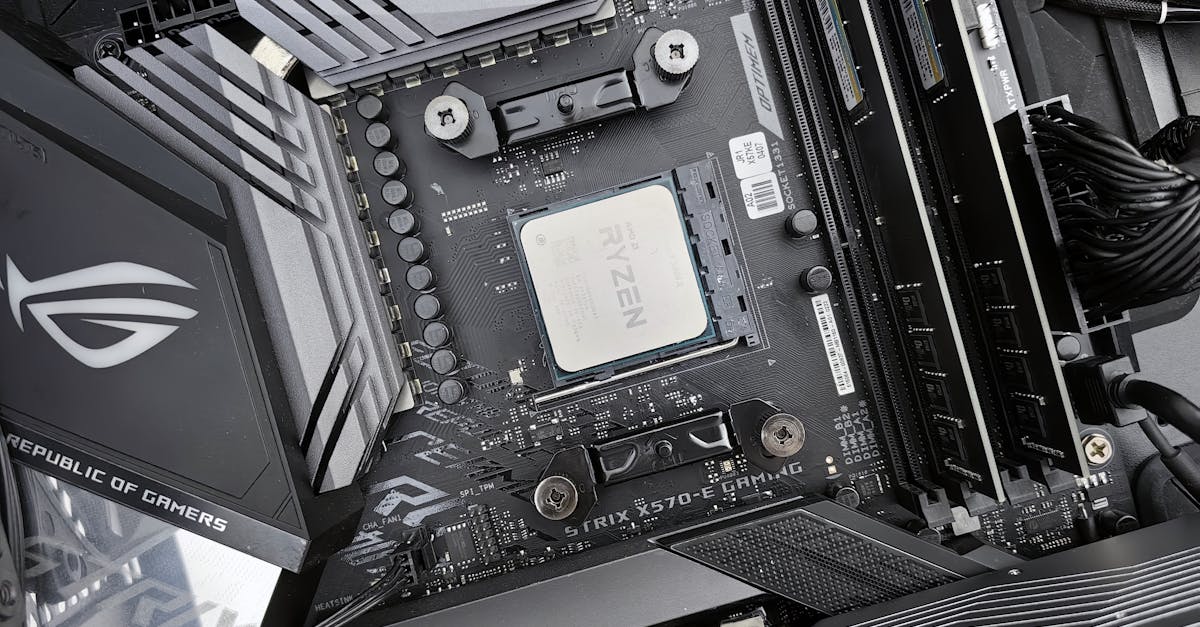
Now, let's ready the motherboard. Lay it on a non-static surface, like its box, to do some early assembly. This includes installing the CPU and RAM sticks at this step before anything goes into the case. Another smart move is to attach the I/O shield, a metal panel, to the back of the case before the motherboard goes in.
How do you install the CPU and cooler in your PC build?
Open the CPU socket cover on your motherboard. Align the marks on the CPU and socket to lower it into place. Gently, but firmly, latch the cover back down. Be very careful. Even a slight mistake here can harm sensitive pins or the CPU.
Next comes the thermal paste; apply a drop in the center of the CPU to ensure good heat spread. This helps the cooler sink better to the CPU. Now, the cooler: Fasten it over the CPU area as per the cooler's guides. Secure it in tight without overtightening. Each cooler type has varying mounting steps and screw types, so read your cooler's manual.
Finally, connect the cooler's fan wire to the CPU fan slot on the motherboard. This keeps things chilly and prevents the system from overheating.
How are RAM and storage installed during a PC build?
Installing RAM is like fitting LEGO bricks. Find the RAM slots on the motherboard. Unlock and open each slot latch before sliding the RAM sticks in place until they click. Ensure they fit in their matching pairs for the best performance. If you have four slots, and two RAM sticks, check the motherboard's guide for which slots to use first.
For storage drives like SSDs, find the M.2 slot or SATA ports on the motherboard. For M.2 SSDs, slide them into the M.2 slots at an angle and lower them flat, securing them with tiny screws. An alternative is older SATA SSDs or HDDs, affixed using brackets within the case. Connect their power and data cables from the motherboard and PSU.
Remember, everyone starts from knowing nothing. Step through each process slowly, and things will begin to fit like a puzzle. You will know when the job’s right, and your confidence grows as you plug each piece in its spot. Once all are in place, tidy the cables for neat airflow inside the case.
How Can You Ensure Optimal Performance for Your Gaming PC?
Building a gaming PC is thrilling, allowing for total customization and future-readiness. But the real magic lies in ensuring your new build performs at its best. Having a powerful rig is only part of the puzzle. Optimizing it to run smoothly will enrich your gaming experience. Let's dive into how we can achieve this.
How do you perform benchmarks to test gaming performance?
To know if your PC is hitting its potential, use benchmarks. Benchmarks are tests that check how well every part is working. They help by providing performance scores, marking areas of strength and weakness. For high Precision, ensure the use of reliable benchmarking software.
When starting, use software like 3DMark or Superposition. These tools help compare your PC's performance to others like it. They test the GPU, CPU, and RAM. This can show where upgrades or tweaks might be beneficial.
With benchmarks, you focus on two key areas: frames per second (FPS) and temperature. Higher FPS means smoother gameplay. Temperature shows how hot your parts get. Keep your components cool and they will last longer.
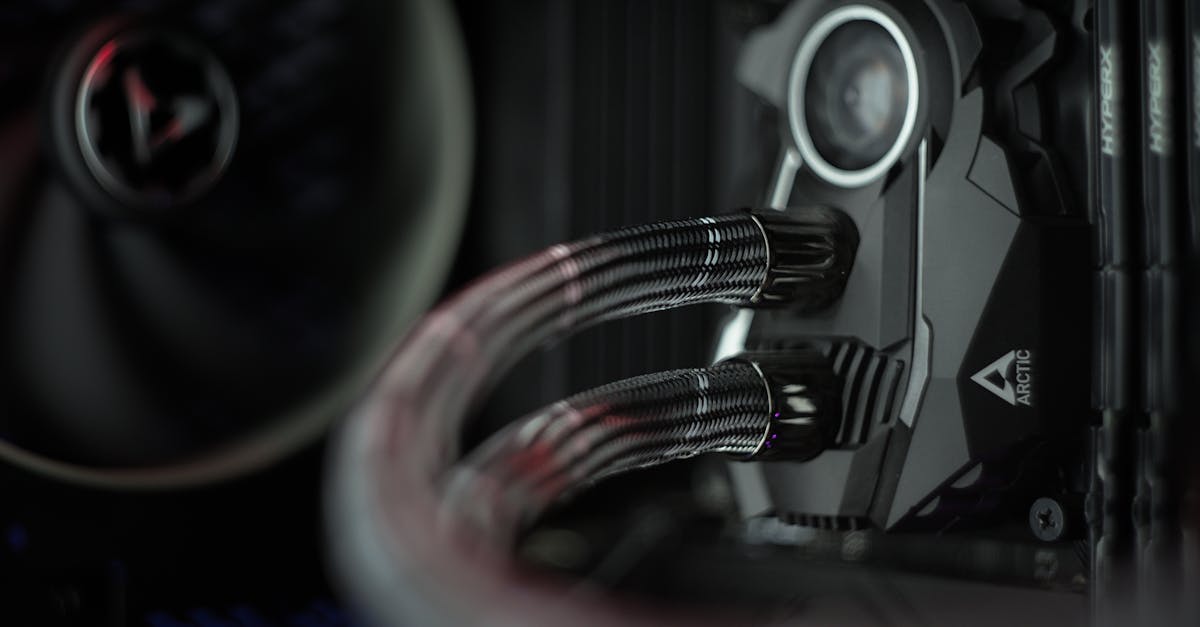
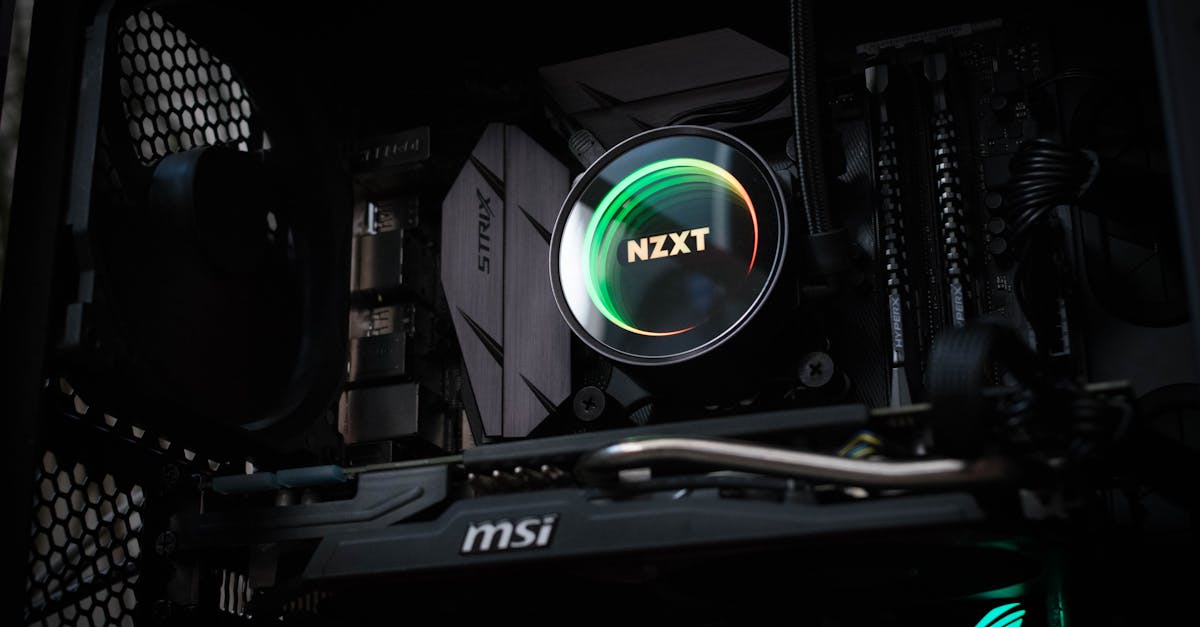
What cooling options are available for gaming PCs?
Cooling is essential. Without it, your system could overheat, reducing lifespan and performance. There are two main cooling options: air cooling and liquid cooling. Each has its pros and cons. But both lead to better performance when used properly.
Air coolers are cost-friendly. They use fans to move heat away. They are also easier to install and maintain. Larger air coolers work better, but they take more space in your case.
Liquid cooling is more effective and quiet. It uses liquid to conduct heat away more efficiently. But it costs more and can be tough to install. Liquid coolers look sleek and can handle the heat from overclocking. Overclocking pushes your CPU or GPU past its factory limits for more power.
How can you optimize settings for enhanced gaming performance?
Optimizing your settings means making tweaks so your PC runs games the way you want. First, check your in-game settings. Most games have presets like low, medium, high, and ultra. If performance lags, consider lowering some settings.
One trick is to change the resolution scale. It helps boost FPS while keeping visual quality. Turn off visual effects you don't need like motion blur. Sync options like V-Sync can limit FPS but help avoid screen tearing.
Power settings in Windows should be set to "High Performance." This uses more power but keeps your system running fast. Keep your drivers updated especially for the GPU. Game developers and Nvidia or AMD release updates that fix bugs and improve performance.
Finally, check background tasks. Run only what is necessary when gaming. Limiting these frees up CPU and RAM for better gaming. Remember to unplug unnecessary USB devices to keep power focused on your core components.
Optimal performance is about balance. Test, cool, and fine-tune. With these steps, your gaming PC will shine, giving you the edge you need.
What Are Considerations for Upgrading and Maintaining a Gaming PC?
When owning a gaming PC, thinking about future upgrades is important. Technology is always changing, and newer games need better components. Planning for these upgrades can save both time and money later. Here's how you can prepare and maintain your gaming powerhouse.
How can you plan for future upgrades in your gaming PC?
Start by choosing parts that allow for easy upgrades. For instance, when selecting a motherboard, pick one with extra slots for RAM or a second GPU. This lets your system grow with your needs without a full rewrite. Also, monitor your CPU and GPU usage. If they are constantly at full capacity, it might be time for an upgrade. Check out the Steam Hardware Survey for insights into popular setups.
Additionally, keep an eye on your PSU. As you upgrade, ensure it delivers enough power for new components. Use tools like a Power Supply Calculator to make sure your PSU meets your system's demands.
What are the best practices for maintaining and updating your gaming PC?
Regular maintenance keeps your PC running smoothly. Dust can build up and affect performance, so clean your machine every three to six months. Power down your PC, open the case, and use a can of air to remove dust from components like fans and heatsinks. Be careful not to damage any parts while doing so.
Updating software is just as vital. Keep your operating system and drivers current. Updates can fix bugs, improve security, and boost performance. Many updates happen automatically, but always check your settings to ensure they are turned on.
Monitoring tools can help track your PC’s health. Programs that watch CPU usage and temperatures alert you to potential issues before they become serious problems.
How do you troubleshoot common issues in gaming PCs?
Troubleshooting is about knowing your PC and what it can do. Sometimes, games run slow or crash, often due to overstretched system resources. Close unused apps to free up memory. Check task managers to see which apps use the most CPU or GPU resources and make adjustments as needed.
If your PC won’t start, check the power connections. Ensure all cables remain securely plugged in and the power supply is switched on. For repeated crashes, running a system integrity check and scanning for malware can eliminate software issues.
Avoiding problems in the first place is best. Build routines that include checking hardware and temperatures, updating everything regularly, and cleaning when needed. Through these steps, you create a stable and fun gaming experience for years.
Conclusion
Building your gaming PC requires the right tools and a ready workspace. Choose parts that fit together and give the best performance, like a good motherboard. Follow a step-by-step guide to put your PC together. Make sure it runs well by testing its performance and tweaking settings. Keeping your PC updated and knowing how to fix common problems will keep it running great. With this guide, you're ready to dive into the world of PC building and gaming. Enjoy the journey and the games on your new setup!